

오늘은 HTML 코딩 2일차! 과제까지 진행 완🎈✌
1. info.html <style>
<style>
      * {
        padding: 8px;
        margin: 0px;
        box-sizing: border-box;
        text-align: center;
        align-items: center;
      }
      body {
        font-family: "Noto Sans", sans-serif;
      }
      hr {
        margin: 36px auto 0;
        border: none;
        border-top: 1px solid #9E53BE;
        width: 300px;
      }
      .Top {
        position: fixed;
        top: 0;
        width: 100%;
        height: 60px;
        background-color: #9E53BE;
        display: flex;
        align-items: center;
        justify-content: center;
        color: white;
        font-size: 20px;
      }
      .Intro {
        height: 100px;
        line-height: 100px;
      }
      .Detail {
        margin: auto;
        display: flex;
        flex-direction: column;
        align-items: center;
        justify-content: center;
        text-align: center;
        color: #9E53BE;
        font-weight: 400;
        background-color: rgba(185, 185, 185, 0.261);
        border-radius: 28px;
        width: 300px;
        height: 100px;
        line-height: 36px;
      }
      .Detail p {
        width: 100%; /* 텍스트가 차지할 너비를 지정 */
        word-wrap: break-word; /* 긴 단어를 자동으로 줄바꿈 */
        margin: 0; /* p 태그의 기본 마진을 제거 */
      }
      .List {
        text-align: center;
      }
      .Table {
        margin: auto;
        border-collapse: separate;
        border-spacing: 0;
        border-radius: 16px;
        width: 300px;
        text-align: center;
      }
      .Table th,
      .Table td {
        border: 2px dotted rgba(103, 98, 98, 0.261);
        padding: 10px;
        text-align: center;
      }
      .Table th {
        border: 2px dotted rgba(255, 255, 255, 0.261);
        background-color: #9E53BE;
        color: white;
      }
      /* 테이블 개별 셀의 모서리 둥글게 만들기 */
      .Table tr:first-child th:first-child {
        border-top-left-radius: 16px;
      } /* 좌상단 */
      .Table tr:first-child th:last-child {
        border-top-right-radius: 16px;
      } /* 우상단 */
      .Table tr:last-child td:first-child {
        border-bottom-left-radius: 16px;
      } /* 좌하단 */
      .Table tr:last-child td:last-child {
        border-bottom-right-radius: 16px;
      } /* 우하단 */
    </style>
2. info.html <body>
<body>
    <!-- 여기 밑으로 코드를 채워주세요! -->
    <div class="Top">
      <h3>저를 소개합니다</h3>
    </div>
    <br />
    <div class="Intro">
      <h1>안녕하세요, UXUI 6기생 김의정입니다! :두_손을_들고_있는_사람::피부톤-2:</h1>
    </div>
    <!-- 이미지를 추가하는 태그 -->
    <img
      src="profile.jpg"
      alt="내 프로필 사진"
      width="200"
      style="border-radius: 50%"
    />
    <br />
    <!-- 문단을 표시하는 태그 -->
    <div class="Detail">
      <p>
        저는 내일배움캠프를 통해 UXUI를 배우고 있습니다! 열심히 해보겠습니다! :하트_3개가_있는_웃는_얼굴:
      </p>
    </div>
    <hr />
    <!-- 리스트(순서 없는 목록)를 만드는 태그 -->
    <div class="List">
      <h2>내가 좋아하는 것들</h2>
      <p>
        <!-- 리스트 항목 -->
        <li>고양이 :검은_고양이:</li>
        <!-- 첫 번째 항목 -->
        <li>커피 수혈</li>
        <!-- 두 번째 항목 -->
        <li>달달한 것</li>
        <!-- 세 번째 항목 -->
      </p>
    </div>
    <!-- 테이블(표)을 만드는 태그 -->
    <h2>내 친구들</h2>
    <table class="Table">
      <!-- 테두리가 있는 테이블 -->
      <tr>
        <!-- 테이블 헤더(머리글) -->
        <th>이름</th>
        <!-- 첫 번째 열 제목 -->
        <th>관심사</th>
        <!-- 두 번째 열 제목 -->
      </tr>
      <tr>
        <!-- 테이블 데이터 행 -->
        <td>민지</td>
        <!-- 첫 번째 셀 -->
        <td>게임</td>
        <!-- 두 번째 셀 -->
      </tr>
      <tr>
        <td>채영</td>
        <!-- 첫 번째 셀 -->
        <td>주식</td>
        <!-- 두 번째 셀 -->
      </tr>
    </table>
    <hr />
    <h2>:링크: 링크 바로가기</h2>
    <!-- 링크를 추가하는 태그 -->
    <div class="Link">
      <p>
        <li>
          <a
            href="멤버 카드 노션 링크"
          >
            멤버 카드 보러가기</a
          >
        </li>
        <br />
        <li>
          <a href="내 블로그 링크" target="_blank">
            TIL 블로그 보러가기</a
          >
        </li>
        <br />
        <li>
          <a href="detail.html"> 유용한 사이트 모음 보러가기</a>
        </li>
      </p>
    </div>
  </body>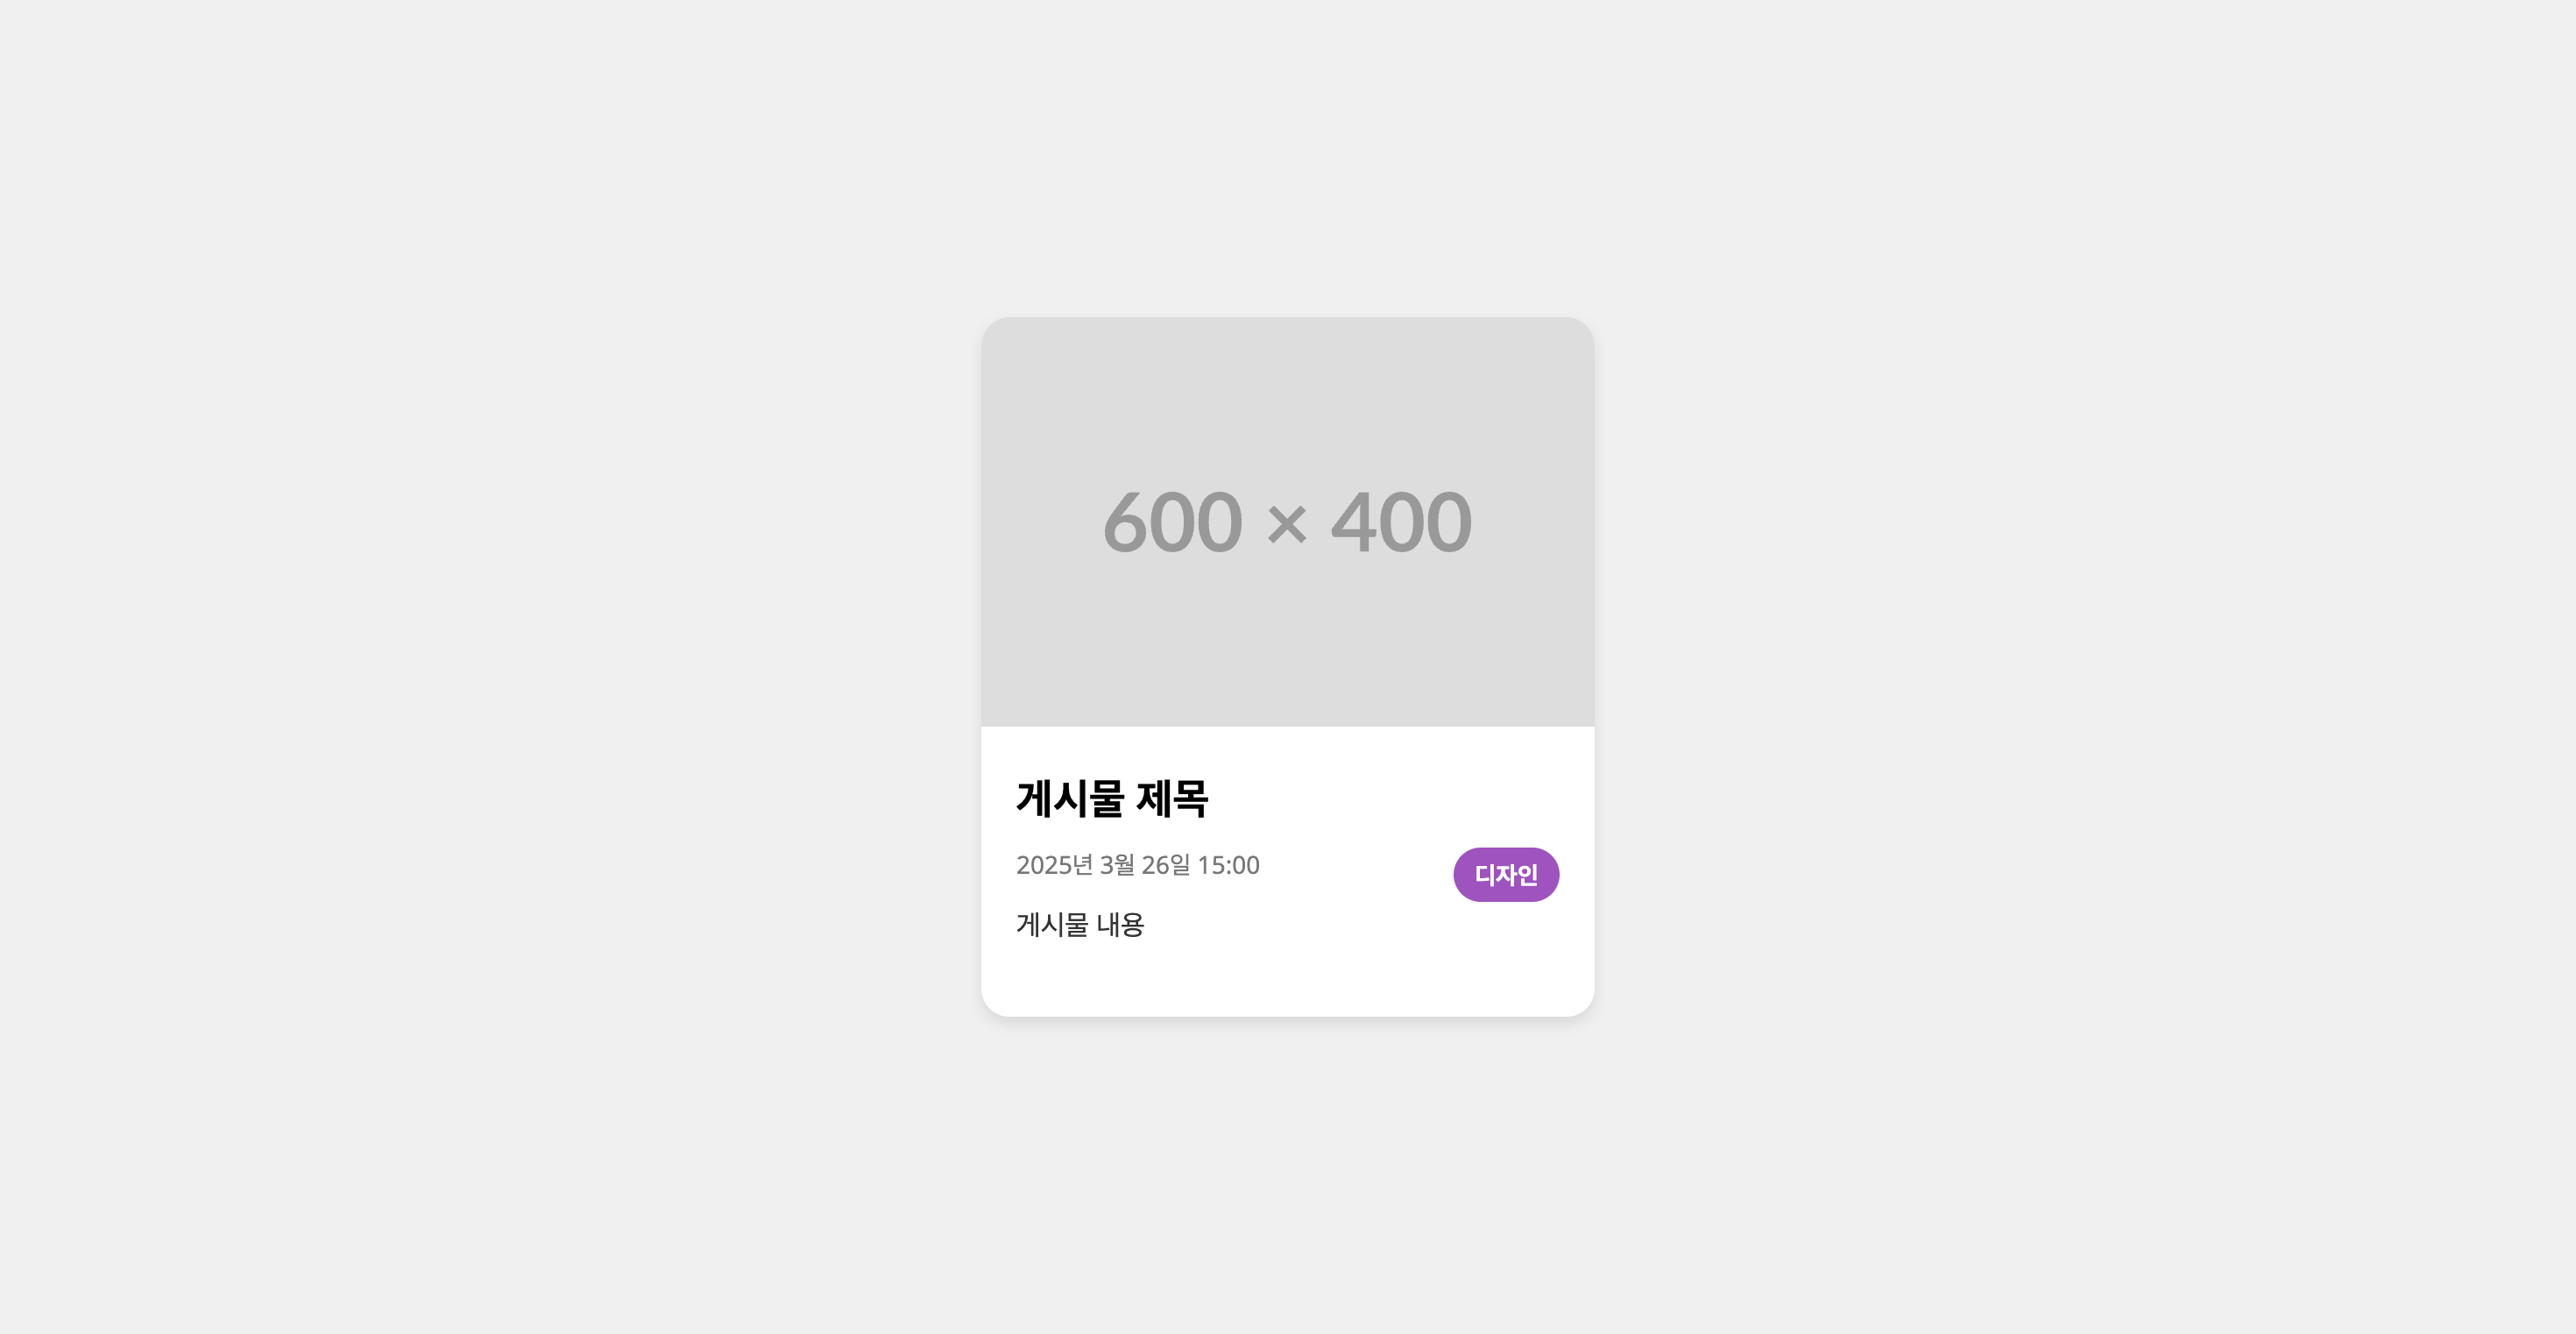
3. card.html
<!DOCTYPE html>
<html>
  <head>
    <title>카드 페이지</title>
  </head>

  <link rel="preconnect" href="https://fonts.googleapis.com" />
  <link rel="preconnect" href="https://fonts.gstatic.com" crossorigin />
  <link
    href="https://fonts.googleapis.com/css2?family=Noto+Sans:ital,wght@0,100..900;1,100..900&display=swap"
    rel="stylesheet"
  />

  <style>
    * {
      margin: 0;
      padding: 0;
      box-sizing: border-box;
    }

    body {
      font-family: "Noto Sans", sans-serif;
      display: flex;
      justify-content: center;
      align-items: center;
      height: 100vh;
      background-color: #F0F0F0;
    }

    .post-card {
      width: 350px;
      background-color: white;
      border-radius: 16px;
      box-shadow: 0 4px 8px rgba(0, 0, 0, 0.1);
      overflow: hidden;
    }

    .post-image {
      width: 100%;
      height: auto;
    }

    .post-content {
      padding: 20px;
    }

    .post-title {
      font-size: 24px;
      font-weight: bold;
      margin-bottom: 12px;
    }

    .post-body {
      font-size: 16px;
      line-height: 1.6;
      color: #333;
      margin-bottom: 20px;
    }

    .post-meta {
      display: flex;
      justify-content: space-between;
      font-size: 14px;
      color: #999;
    }

    .post-date {
      color: #777;
    }

    .post-category {
      background-color: #9E53BE;
      color: white;
      padding: 6px 12px;
      border-radius: 16px;
      font-weight: bold;
    }
  </style>

  <body>
    <article class="post-card">
      <img
        src="https://placehold.co/600x400"
        alt="게시물 이미지"
        class="post-image"
      />
      <div class="post-content">
        <h2 class="post-title">게시물 제목</h2>

        <div class="post-meta">
          <span class="post-date">2025년 3월 26일 15:00</span>
          <span class="post-category">디자인</span>
        </div>

        <p class="post-body">게시물 내용</p>
      </div>
    </article>
  </body>
</html>'내배캠 TIL' 카테고리의 다른 글
| #TIL_47 🔥 UX 복습 (0) | 2025.04.01 |
|---|---|
| #TIL_46 🍫 CSS 레이아웃 (0) | 2025.03.31 |
| #TIL_44 💻 디자이너의 코딩, HTML 배우기 (1) | 2025.03.27 |
| #TIL_43 💬 좋은 팀 커뮤니케이션을 하는 법 (0) | 2025.03.26 |
| #TIL_42 😂 프로젝트 마감 D-DAY (0) | 2025.03.25 |


댓글